
In the realm of personalized stationery and artisanal crafts, 3D printed embossing plates are revolutionizing the way individuals add intricate designs and patterns to their creations. These plates, crafted with precision and creativity, offer endless possibilities for embellishing notebooks, cards, invitations, and more. Let’s delve into the world of 3D printed embossing plates and explore how they are crafted to unlock a new level of creativity.
Contents
Exploring the Concept
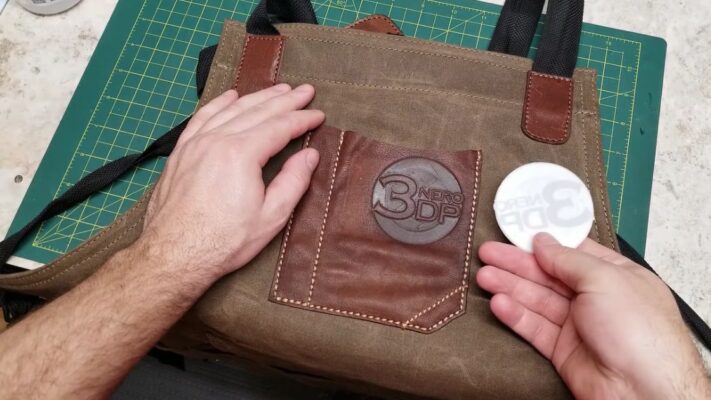
At its core, a 3D printed embossing plate is a tool used to imprint intricate designs onto various surfaces, typically paper or cardstock. Unlike traditional embossing methods that rely on metal dies or stamps, 3D printed plates offer unparalleled customization and detail. From intricate lace patterns to bespoke monograms, the design possibilities are limited only by imagination.
The Creation Process
Crafting a 3D printed embossing plate is a meticulous process that combines digital design with additive manufacturing techniques. Here’s a step-by-step overview of how these plates are brought to life:
Design Phase
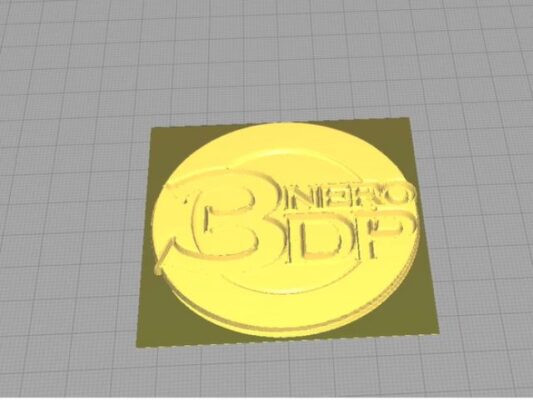
The journey begins with conceptualizing the desired design. Whether it’s a floral motif, geometric pattern, or custom logo, the design is translated into a digital format using computer-aided design (CAD) software. This phase allows for precise customization, including adjusting dimensions, fine-tuning details, and experimenting with different styles.
Preparation for Printing
Once the design is finalized, it is exported as a standard 3D model file, such as STL or OBJ. This file serves as the blueprint for the 3D printing process. Before printing, the model may undergo further optimization, such as adding support structures to ensure stability during printing.
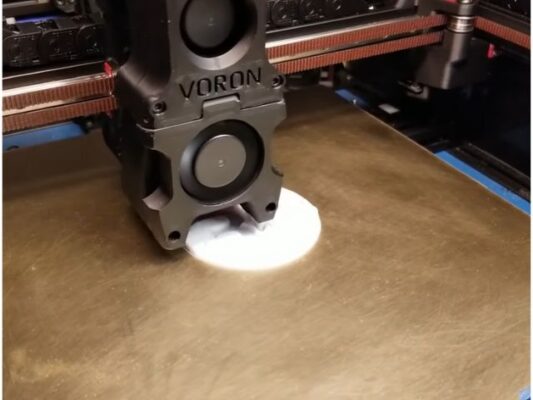
3D Printing
With the design prepared, it’s time to bring it into the physical realm through 3D printing. Various factors come into play here, including the choice of printing material, printing technology, and print settings. Common materials for embossing plates include PLA, PETG, and resin, each offering unique characteristics such as durability, flexibility, and surface finish.
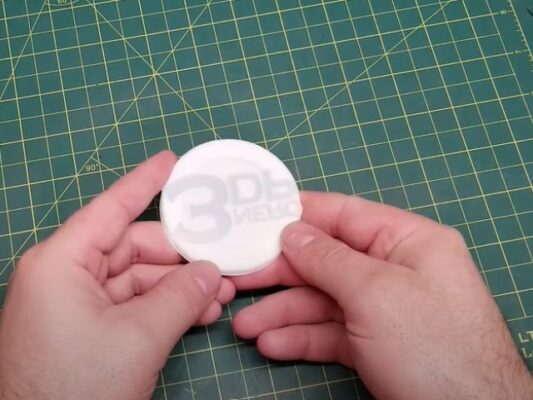
Post-Processing
Once the printing is complete, the embossing plate undergoes post-processing to refine its surface and ensure optimal performance. This may involve removing support structures, sanding rough edges, and inspecting the plate for any defects. Additionally, the plate may be treated with coatings or finishes to enhance its durability and longevity.
Application and Versatility
The versatility of 3D printed embossing plates is truly remarkable, opening up a world of creative possibilities for artists, crafters, and designers alike. Here are just a few ways these plates can be applied:
- Custom Stationery: Add a personal touch to greeting cards, invitations, and envelopes with custom embossed designs.
- Artistic Projects: Incorporate embossed elements into mixed media art, scrapbooking, and journaling for added texture and visual interest.
- Branding and Marketing: Create branded stationery, packaging, and promotional materials that leave a lasting impression on clients and customers.
- Educational Resources: Develop tactile learning aids and interactive educational materials for classrooms and workshops.
In a world where creativity knows no bounds, 3D printed embossing plates stand as a testament to the fusion of artistry and technology. By harnessing the power of digital design and additive manufacturing, individuals can bring their visions to life with unparalleled precision and flair. Whether used for personal expression, professional branding, or educational endeavors, these plates offer a versatile and exciting tool for unlocking creativity and making a lasting impression.
Related Posts